
Fall is such a magical time, isn’t it? As the leaves turn golden and there’s a crispness in the air, my mind always drifts to cozy evenings and, of course, pumpkin carving. While the jack-o’-lanterns are a blast, I think the real hidden gem of the season is what we often scoop out and discard: the seeds!
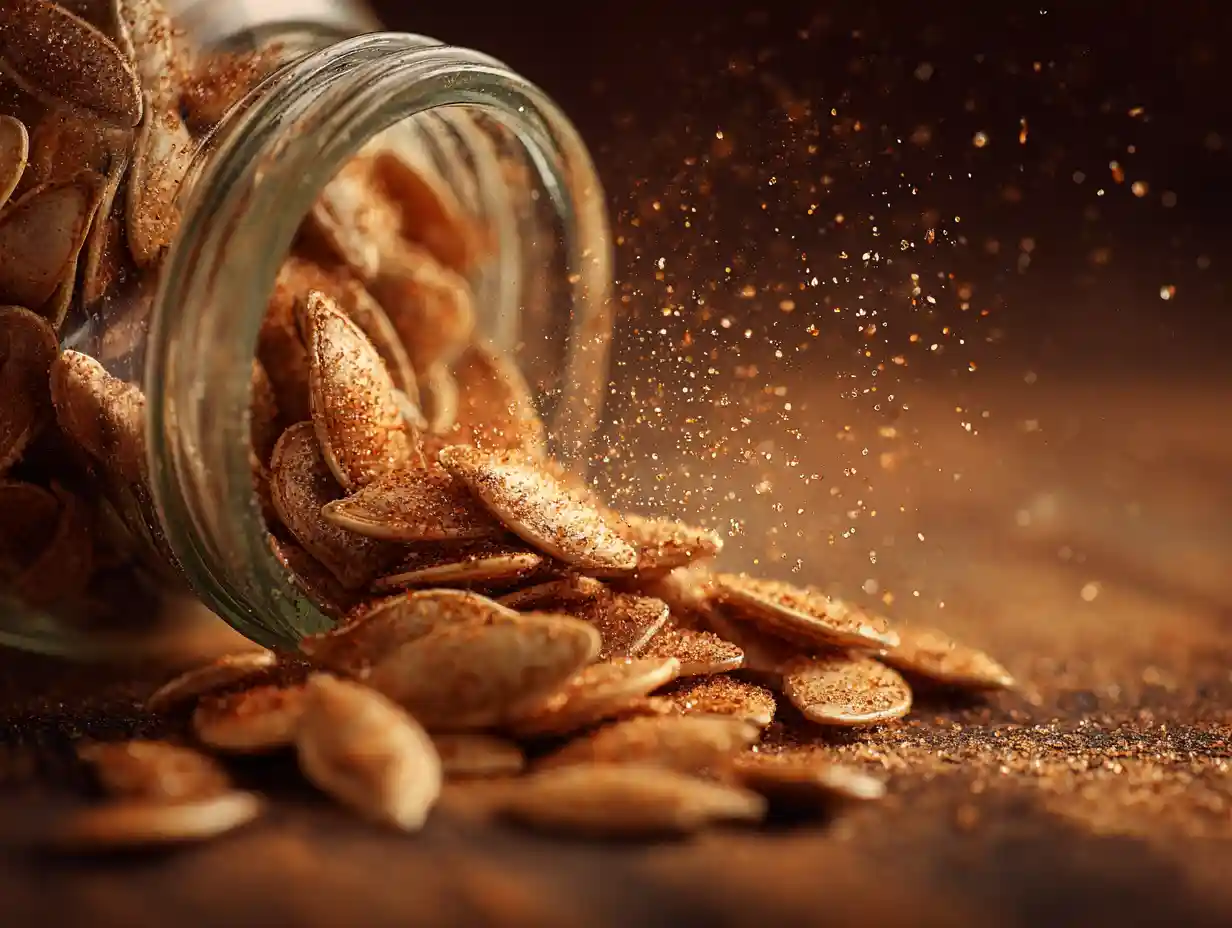
Making homemade roasted pumpkin seeds is such a simple pleasure, turning what might be waste into an incredibly delicious, crispy snack. With my easy recipe, you will have perfectly crunchy, flavorful seeds ready in about 20-25 minutes total, perfect for munching on or adding to your favorite dishes.
Table of Contents
Why You’ll Love These Homemade Roasted Pumpkin Seeds
I find so much joy in transforming simple ingredients, and this recipe truly embodies that spirit. These homemade roasted pumpkin seeds are more than just a snack; they are a little taste of fall that I know you will adore.
- I love how incredibly easy this recipe is. It takes minimal effort to turn humble pumpkin seeds into a gourmet treat.
- There is something so satisfying about making something delicious from scratch, especially when it is typically discarded. This recipe is pure kitchen magic.
- I can customize the flavors endlessly, making each batch unique and perfectly suited to my current cravings.
- These crunchy seeds are not only tasty but also a fantastic, healthy snack that I feel good about enjoying and sharing.
The Secret to Perfectly Crispy Roasted Pumpkin Seeds
Achieving that ideal, irresistible crunch in your roasted pumpkin seeds is all about a few key steps. I have learned over the years that these details make all the difference between good seeds and truly outstanding ones.
Removing Seeds with Ease
Scooping out pumpkin seeds can sometimes feel like a sticky chore, but I have a few tricks up my sleeve. I find that a sturdy metal spoon or an ice cream scoop works wonders for scraping the inside of the pumpkin cleanly. For larger pumpkins, using a dedicated pumpkin carving scoop can make the process even quicker and less messy. I always make sure to get as much of the stringy pulp as possible in one go.
The Art of Cleaning Pumpkin Seeds
Once I have scooped them out, the next crucial step is cleaning them thoroughly. I place my seeds in a colander and rinse them under cold running water. While rinsing, I use my fingers to gently separate the seeds from any remaining pulp and stringy fibers.
Sometimes, a stiff brush or even rubbing them vigorously between my hands in a bowl of water helps to dislodge stubborn bits. This meticulous cleaning is vital because any lingering pulp can burn, creating a bitter taste, or prevent the seeds from crisping up properly during roasting.
Why Thorough Drying is Essential
This is, in my opinion, the most critical step for achieving ultimate crispness. Moisture is the enemy of crunch when it comes to roasting seeds. If the seeds are still damp, that water has to evaporate before the seeds can actually start to toast, leading to a chewy rather than crispy texture.
I always make sure to dry my seeds completely after washing. I typically spread them out on a clean kitchen towel and pat them thoroughly until they feel dry to the touch. For extra assurance, I sometimes let them air dry for an hour or two on the counter before seasoning.
Optimal Pumpkin Types for Roasting Seeds
When I am planning to roast pumpkin seeds, I definitely consider the type of pumpkin I am using. Not all pumpkins are created equal when it comes to their seeds. For the best roasting experience, I usually opt for “pie pumpkins” or “sugar pumpkins.”
These varieties, while smaller, tend to have denser, more flavorful flesh and, crucially, larger and more abundant seeds that are easier to clean and shell. Carving pumpkins, on the other hand, often have thinner shells and smaller, sometimes tougher seeds that are not quite as satisfying to eat.
To Boil or Not to Boil? Comparing Pumpkin Seed Prep Methods
I have seen many different approaches to preparing pumpkin seeds, and one common debate is whether to boil them first. My recipe, as you will see, focuses on simply washing and thoroughly drying the seeds before seasoning and roasting.
I prefer this method because it is quicker and results in a more intensely “nutty” flavor and a fantastic crispness. The direct roasting really brings out their natural earthiness. Some cooks, however, advocate for boiling the seeds in salted water for about 10 minutes before drying and roasting.
The idea behind boiling is that it can make the shells slightly more tender and easier to digest, and it also seasons the seeds from the inside out. While this can produce a good result, I find it adds an extra step and can sometimes lead to a slightly less crispy final product if they are not dried perfectly. For me, the simplicity and superior crunch of my method win every time.
Ingredients for Your Best Batch of Roasted Pumpkin Seeds
I love how just a few simple ingredients can create such a satisfying snack. Here is exactly what I use to make my perfect batch:
- ¾ cup raw pumpkin seeds
- 1 tablespoon olive oil
- ½ teaspoon kosher salt
- ¼ teaspoon garlic powder
- ¼ teaspoon paprika (optional)
- ⅛ teaspoon black pepper
How to Make Perfect Roasted Pumpkin Seeds (Step-by-Step)
Creating these perfectly crispy roasted pumpkin seeds is incredibly straightforward. Just follow these steps, and you will have a delicious snack in no time.
Prepare Your Oven and Seeds
First, I preheat my oven to 350°F (177ºC). Then, I wash the pumpkin seeds thoroughly in a colander to remove any pulp and fibers, making sure they are sparkling clean. After washing, I take extra care to thoroughly dry them with a towel, which is key for crispiness.
Season for Flavor
Next, in a small bowl, I combine the dried pumpkin seeds with the olive oil, kosher salt, garlic powder, paprika (if I am using it), and black pepper. I toss everything together until the seeds are evenly coated with the oil and spices.
Roasting to Golden Perfection
I lightly grease a sheet pan with a little olive oil, then I spread the seasoned pumpkin seeds evenly in a single layer on the pan. I bake them until they are toasted and crunchy, which usually takes about 12 to 15 minutes.
During this time, I make sure to stir them every 5 minutes for even toasting, and I always check for doneness with each stir by tasting a seed for that perfect crunch.
Cool and Enjoy
Once they are golden and perfectly crispy, I transfer the roasted pumpkin seeds to a bowl to cool down. They will become even crispier as they cool.
Flavorful Variations for Your Roasted Pumpkin Seeds
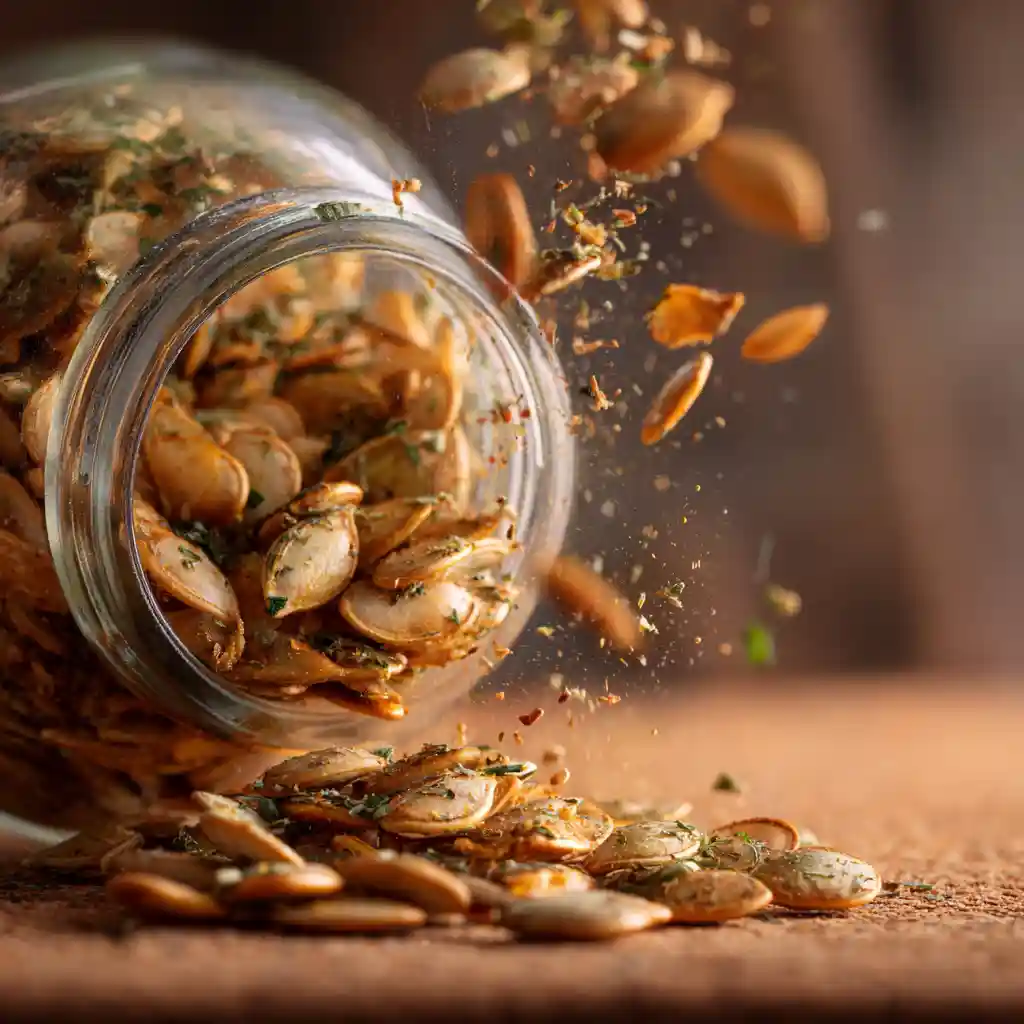
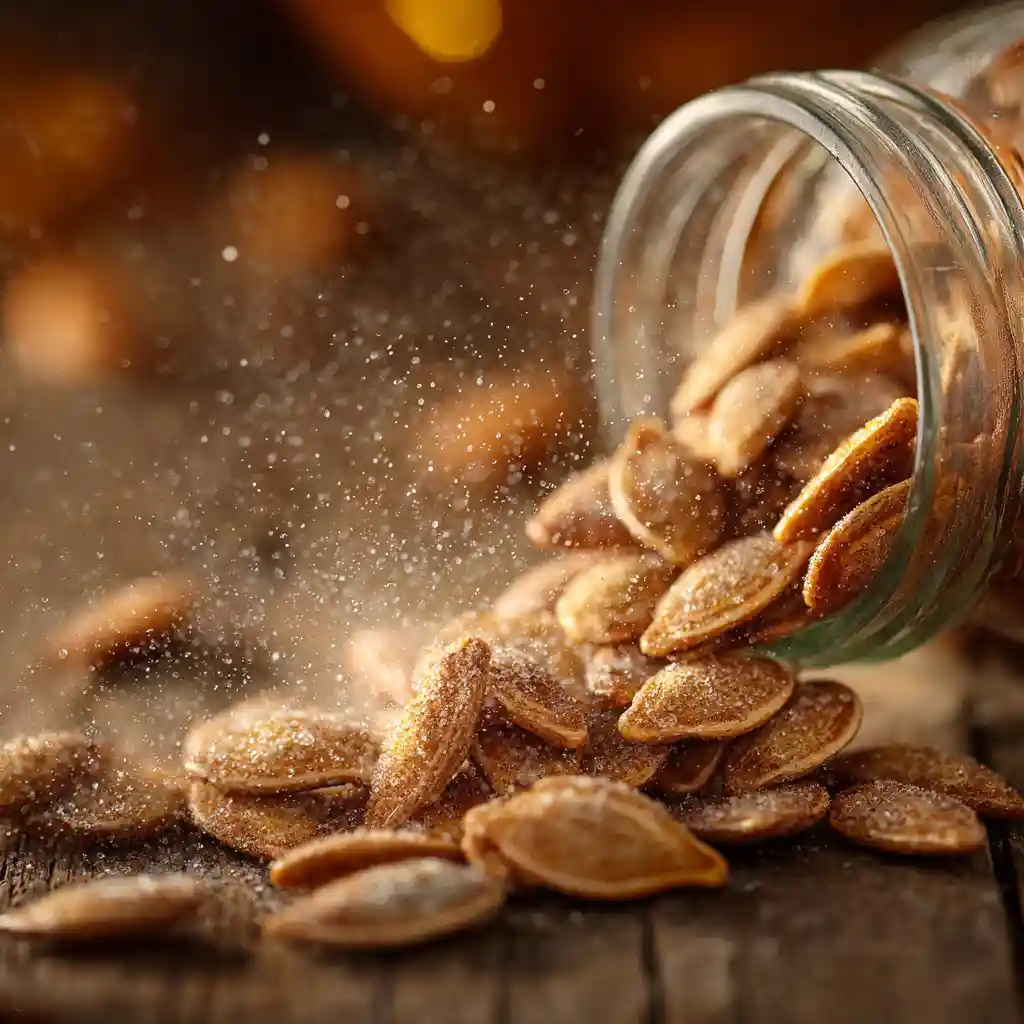
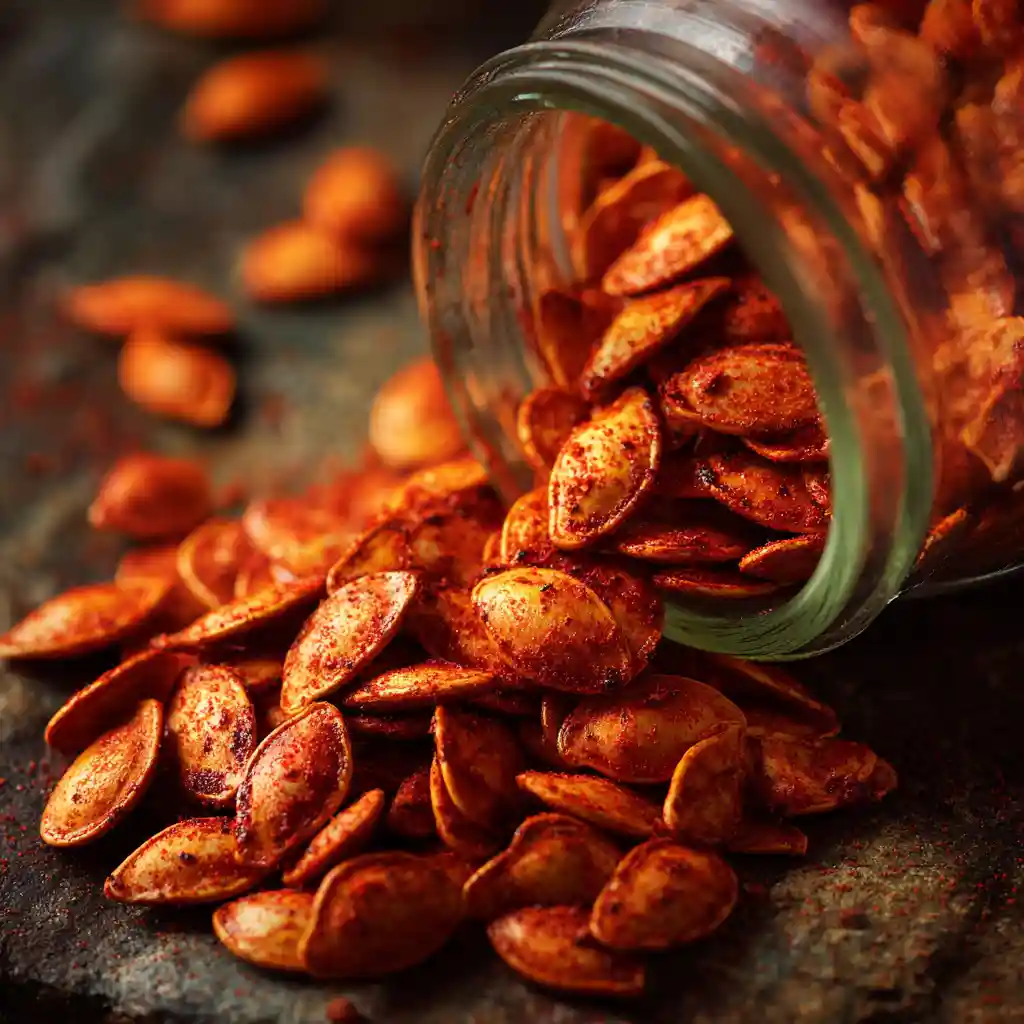
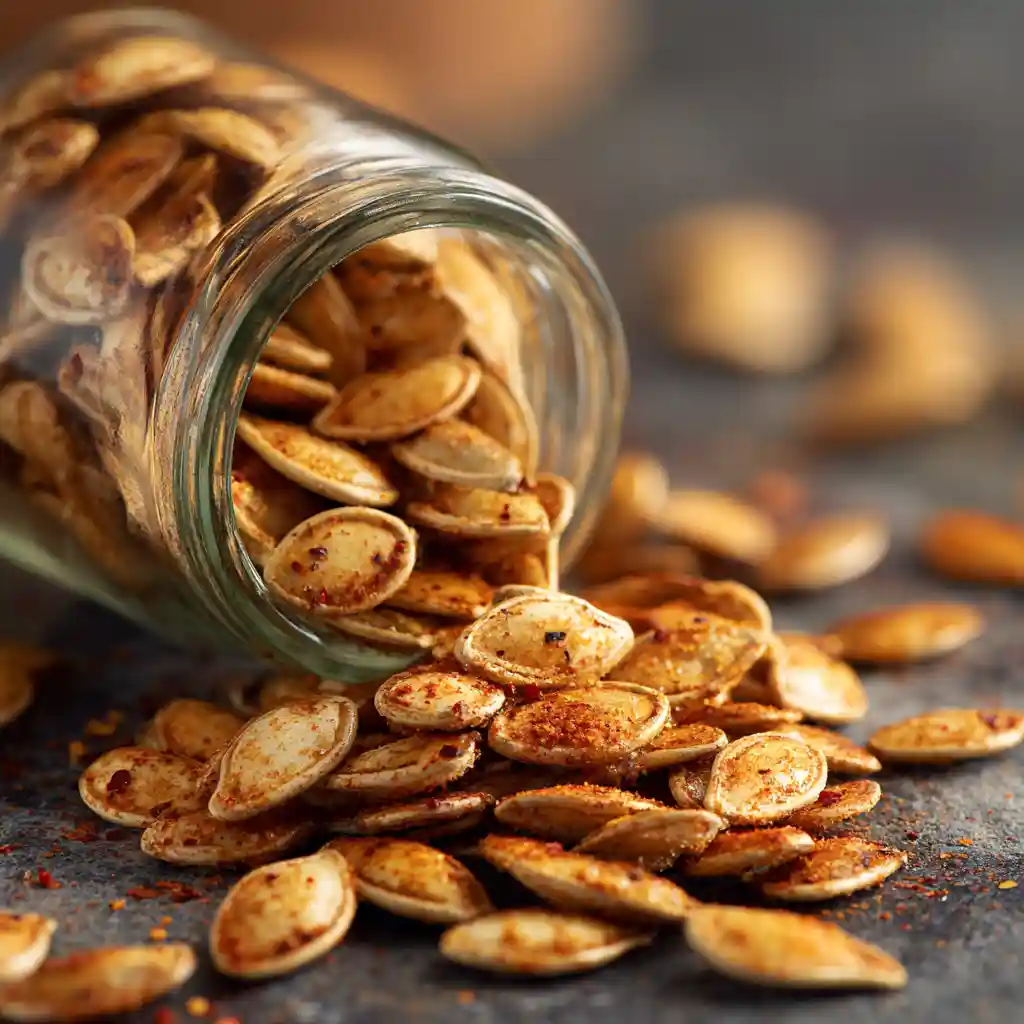
I love experimenting with flavors, and pumpkin seeds are a fantastic canvas for creativity. Here are some of my favorite ways to switch up the seasonings:
| Flavor Profile | Seasonings | Taste Description |
|---|---|---|
| Sweet & Spicy | 1 tsp brown sugar, ¼ tsp cayenne pepper, pinch salt | A delightful balance of sweet warmth and a gentle kick; try with coconut oil for extra sweetness. |
| Smoky Paprika | 1 tsp smoked paprika, pinch garlic powder, salt | Deep, rich, and savory with an earthy smokiness; a fantastic alternative to plain paprika. |
| Italian Herb | 1 tsp dried Italian herbs, ¼ tsp garlic powder, salt | Aromatic and savory, reminiscent of Italian cooking, great with avocado oil. |
| Cinnamon Sugar | 1 tsp cinnamon, 2 tsp sugar, pinch salt | Classic, comforting, and sweet, perfect for a fall treat; ideal with melted butter instead of olive oil. |
| Spicy Chili-Lime | 1 tsp chili powder, ½ tsp lime zest, pinch salt | Zesty, bright, and with a lively spice, a vibrant and tangy option. |
| Everything Bagel | 1 tsp everything bagel seasoning, pinch salt | Garlicky, oniony, and wonderfully savory, just like your favorite bagel topping. |
| Rosemary Garlic | 1 tsp finely chopped fresh rosemary, ½ tsp garlic powder, salt | Fragrant and savory with an herbaceous punch, very sophisticated. |
Beyond Pumpkin: Roasting Other Squash Seeds
I often get asked if you can roast seeds from other types of squash, and the answer is a resounding yes! I regularly roast seeds from butternut, acorn, and spaghetti squash, and they are all delicious.
The process is very similar to pumpkin seeds, but I do note a few differences. Butternut squash seeds are often smaller and may roast a little quicker, so I keep a close eye on them. Acorn squash seeds are also on the smaller side. Spaghetti squash seeds tend to be thinner.
Regardless of the squash type, my advice remains the same: thorough cleaning and drying are non-negotiable. Roasting times and temperatures will be very similar, but I always recommend tasting a seed for crunchiness a few minutes before the recipe time is up, as variations in size can affect baking duration.
Troubleshooting: Why Aren’t My Roasted Pumpkin Seeds Crispy?
I know how frustrating it can be when your seeds do not turn out perfectly, but I promise these common issues are easy to fix!
- Seeds are chewy, not crispy: The most common culprit here is moisture. I make sure my seeds are absolutely bone-dry before seasoning and roasting. Another reason might be a crowded pan; if seeds overlap, they steam instead of roast.
- Seeds are burned on the outside, but still soft inside: This usually means the oven temperature was too high, or they were baked for too long without stirring. I always stick to 350°F (177ºC) and stir every 5 minutes.
- Seeds are undercooked and pale: This indicates they needed more time in the oven or the temperature was too low. I adjust the baking time and ensure my oven is properly preheated to the specified temperature.
Alternative Roasting Methods: Can You Air Fry Roasted Pumpkin Seeds?
Absolutely! I have successfully made roasted pumpkin seeds in my air fryer, and they turn out wonderfully crispy. It is a fantastic option if you are making a smaller batch or want a quicker result. Here is how I do it: I prepare and season the seeds exactly as I would for oven roasting.
Then, I spread them in a single layer in the air fryer basket. I air fry them at around 350°F (177ºC) for 8-12 minutes, shaking the basket vigorously every 3-4 minutes to ensure even cooking. Just like with the oven, I taste-test them for crispness towards the end of the cooking time, as air fryer models can vary.
How to Store Roasted Pumpkin Seeds for Freshness
Once I have gone to the trouble of making perfect, crispy roasted pumpkin seeds, I want to make sure they stay fresh! I always allow them to cool completely before storing them.
Then, I transfer them to an airtight container. A glass jar or a sealed plastic container works perfectly. I store them at room temperature in my pantry, away from direct sunlight or humidity.
Stored this way, my roasted pumpkin seeds will maintain their crispness and flavor for up to two weeks. I find that refrigerating them is not usually necessary and can sometimes introduce moisture, which I want to avoid.
The Surprising Health Benefits of Roasted Pumpkin Seeds
Beyond their delicious taste, I am always impressed by how incredibly good roasted pumpkin seeds are for us. They are truly a nutritional powerhouse! I love knowing that I am fueling my body with so many essential nutrients with every crunchy bite.
Pumpkin seeds are a fantastic source of magnesium, which is vital for nerve and muscle function, blood sugar control, and blood pressure regulation. They also offer a good dose of zinc, which supports my immune system and promotes healthy skin. I appreciate that they are rich in iron, helping to transport oxygen throughout my body, and provide a healthy amount of fiber, which aids digestion and helps me feel full and satisfied.
Plus, these little seeds are packed with healthy fats, including omega-3s, which are great for heart health. I truly feel like I am nourishing myself when I snack on them. According to Harvard Health, pumpkin seeds are also a good source of several other minerals, unsaturated fats, and fiber.
Also, if you are interested in other seasonal recipes, check out this Amazing Cranberry Salsa Over Cream Cheese Recipe.
Creative Ways to Enjoy Roasted Pumpkin Seeds
I love eating roasted pumpkin seeds straight from the bowl, but I also enjoy finding creative ways to incorporate them into my meals. Their satisfying crunch and nutty flavor can elevate so many dishes.
- Sprinkle them over a creamy soup, like a butternut squash or tomato bisque, for added texture.
- Use them as a crunchy topping for your morning yogurt or oatmeal.
- Add them to your homemade granola for an extra boost of flavor and nutrition.
- Toss them into a green salad with a vinaigrette for a lovely nutty contrast.
- Mix them into your favorite trail mix for a hearty and energizing snack.
- Crush them slightly and use them as a coating for chicken or fish before baking.
- Sprinkle them over roasted vegetables like Brussels sprouts or green beans.
- Use them as a topping for dips like hummus or guacamole.
Making a Large Batch & Thoughtful Gift-Giving Ideas
If you are like me and find yourself with several pumpkins after carving, making a large batch of roasted pumpkin seeds is a fantastic idea! I simply scale up the ingredients proportionally. For multiple pumpkins, I usually need to use several sheet pans to ensure the seeds are spread in a single layer, preventing steaming. If I am making a huge amount, I sometimes roast them in batches to avoid overcrowding my oven.
Once I have a big supply, I love turning these delicious seeds into thoughtful homemade gifts. I package them in pretty glass jars or small cellophane bags tied with twine and a handwritten label. They make excellent hostess gifts, additions to fall-themed gift baskets, or even just a sweet “thinking of you” treat for friends and family. A simple tag with a “Homemade Roasted Pumpkin Seeds” message and maybe a note about the flavor profile I chose adds a lovely personal touch.
You can pair it with this Easy & Amazing Cranberry Turkey Stuffing Balls Recipe for a more robust gift.
FAQs About Roasted Pumpkin Seeds
I know you might have a few lingering questions about making the best roasted pumpkin seeds, so I have gathered some common ones here to help you out!
How do you get the slime off pumpkin seeds easily?
I find the easiest way is to put them in a colander under cold running water. Then, I use my fingers to vigorously rub and separate the seeds from the stringy pulp. Sometimes, a stiff brush can help with stubborn bits, or I rub them together in a bowl of water.
Do you have to dry pumpkin seeds before roasting?
Yes, I absolutely insist on it! Thoroughly drying the seeds is the most crucial step for achieving a perfectly crispy texture. Any moisture will steam the seeds instead of roasting them, leading to a chewy result.
What are the benefits of eating roasted pumpkin seeds?
Roasted pumpkin seeds are a nutritional powerhouse! I love that they are rich in magnesium, zinc, iron, and fiber, and packed with healthy fats. These nutrients support my immune system, heart health, digestion, and overall well-being.
How long do roasted pumpkin seeds last?
Once they are fully cooled, I store my roasted pumpkin seeds in an airtight container at room temperature. They will typically stay fresh and crispy for up to two weeks.
Can you eat the shells of roasted pumpkin seeds?
Yes, I always eat the shells of my roasted pumpkin seeds! The shells are completely edible and contribute to the seeds’ fiber content and overall crunch. Roasting them makes the shells tender enough to be enjoyed.
I hope you are feeling inspired to try your hand at making these delightful homemade roasted pumpkin seeds! It is such a simple way to bring a little extra joy and flavor into your fall season. I really encourage you to give this recipe a go; I know you will love that satisfying crunch.
If you’re looking for more easy options, check out our desserts & drinks category.
Once you whip up a batch, please come back and leave a comment below! I would love to hear what fun seasoning ideas you came up with, if you have any lingering questions, or if you just want to share a photo of your delicious results with our Gather And Cook community. Happy roasting, my friends!
Love cozy fall snacks and zero-waste recipes like these? Follow us on Pinterest for more comforting seasonal bites and kitchen inspiration!

Amazing 7 Roasted Pumpkin Seeds Recipe: The Ultimate Guide
Ingredients
Equipment
Method
- First, I preheat my oven to 350°F (177ºC). Then, I wash the pumpkin seeds thoroughly in a colander to remove any pulp and fibers, making sure they are sparkling clean. After washing, I take extra care to thoroughly dry them with a towel, which is key for crispiness.
- Next, in a small bowl, I combine the dried pumpkin seeds with the olive oil, kosher salt, garlic powder, paprika (if I am using it), and black pepper. I toss everything together until the seeds are evenly coated with the oil and spices.
- I lightly grease a sheet pan with a little olive oil, then I spread the seasoned pumpkin seeds evenly in a single layer on the pan. I bake them until they are toasted and crunchy, which usually takes about 12 to 15 minutes. During this time, I make sure to stir them every 5 minutes for even toasting, and I always check for doneness with each stir by tasting a seed for that perfect crunch.
- Once they are golden and perfectly crispy, I transfer the roasted pumpkin seeds to a bowl to cool down. They will become even crispier as they cool.